Facebook Business Manager is a powerful tool that allows businesses to manage their Facebook pages, ad accounts, and other assets in one central location. As a business owner or administrator, you may need to grant access to other individuals to help manage your Facebook business assets. In this guide, we will walk you through the steps to make someone a Business Manager on Facebook.
Facebook advertising has become an essential part of any successful marketing strategy. With over 2.7 billion monthly active users, Facebook offers businesses a massive audience to reach and engage with. However, creating and managing a Facebook advertising campaign can be overwhelming, especially for those new to online marketing. That’s where buying a Facebook Ads Account comes in
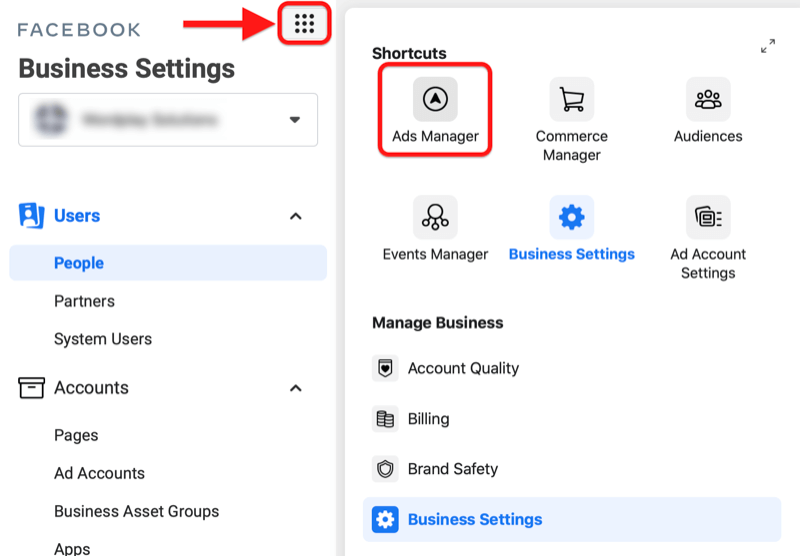
Step 1: Accessing Business Settings
First, log in to your Facebook account and navigate to your Facebook Business Manager. Click on the Business Settings tab located in the top-right corner of the screen.
Step 2: Adding a New Business Manager
In the Business Settings menu, click on the “People and Assets” tab on the left-hand side. Then, click on the “People” tab to see a list of individuals who currently have access to your Business Manager.
To add a new Business Manager, click on the blue “Add” button. A pop-up window will appear, prompting you to enter the email address of the person you want to make a Business Manager.
Make sure you enter the correct email address associated with the person’s Facebook account. You can also choose the level of access you want to grant them: Admin, Employee, or Analyst. Admins have full control over the Business Manager, while Employees and Analysts have limited access.
Once you have entered the email address and selected the access level, click on the “Next” button.
Step 3: Confirming the Invitation
After clicking “Next,” you will see a confirmation screen. Double-check the email address and access level, and then click on the “Invite” button to send the invitation.
The person you invited will receive an email notification with instructions on how to accept the invitation and become a Business Manager on Facebook. They will need to follow the provided link and log in to their Facebook account to accept the invitation.
Step 4: Accepting the Invitation
Once the person you invited receives the email, they should click on the provided link to accept the invitation. They will be redirected to the Business Manager settings page.
On the settings page, they will see a notification indicating that they have been invited to become a Business Manager. To accept the invitation, they should click on the “Accept” button.
Step 5: Setting Up the Business Manager Account
After accepting the invitation, the person will be prompted to set up their Business Manager account. They will need to provide their name, business email address, and create a password for their account.
Once they have filled in the required information, they can click on the “Create Account” button to complete the setup process.
Step 6: Accessing the Business Manager
Once the setup process is complete, the person will have access to the Business Manager and can start managing the assigned assets. They can navigate to the Business Manager by logging in to their Facebook account and clicking on the Business Manager tab.
As the owner or administrator, you can always manage the access levels of your Business Manager by going to the People and Assets tab in the Business Settings. From there, you can edit or remove individuals as needed.
Remember to only grant access to individuals you trust and who require access to manage your Facebook business assets. Regularly review and update the access levels to ensure the security and integrity of your business.
By following these steps, you can easily make someone a Business Manager on Facebook and streamline the management of your business assets.